How can I open a Resident status Geojit account online if my KRA-KYC is registered?
Step 1. Go to hello.geojit.com
Step 2. Select Resident

Step 3. Validate your mobile number
- Enter your mobile number
- Enter the sum of captcha (eg: 1 + 36 = 37) > Continue

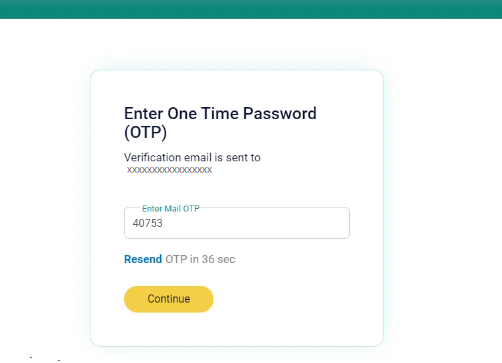
- Enter the OTP received to validate your mobile number > Ok

Step 4. Sign-up with your Full Name and Email
- Enter your Full Name (as per your PAN)
- Enter your Email > Continue
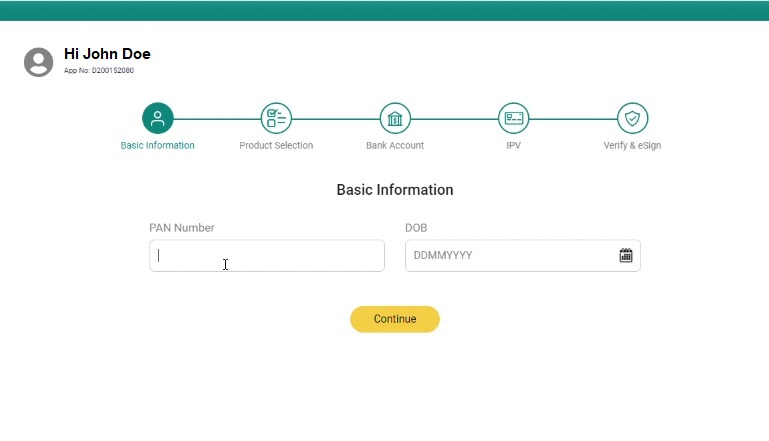
Step 6. Basic Information
- Enter your PAN
- Enter your DOB (Date of Birth) as per PAN > Continue
Step 7. Email Mobile Relationship
- Select the owner of the given email ID and mobile number > Continue
- The relationship options include Self, Dependent Parent, Dependent Child and Spouse

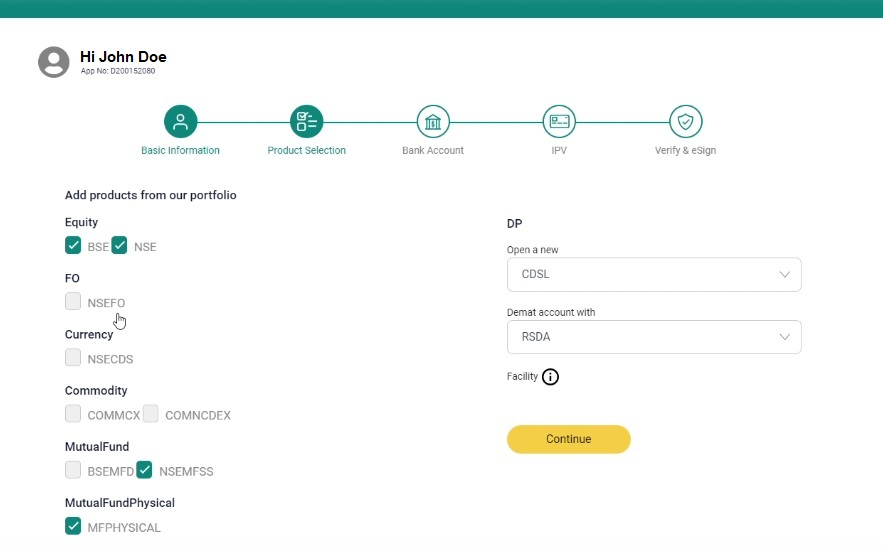
Step 8. Product Selection
- Select the products you wish to activate in your account
- Select the depository through which you wish to open an account (NSDL/ CDSL)
- Select your preferred demat account type (BSDA/ RSDA) > Continue
Step 9. Basic Information (Contd.)
- Select your Marital Status
- Enter your Mother's Name (optional)
- Enter your Father's Name/ Spouse Name
- Select the Location. You can select your nearest Geojit branch / select the location as 'IT' wherein you will not be assigned to a specific branch; you will be mapped directly to Geojit's customer care section.
- Select your Trading Experience
- Select your Occupation
- Select your Annual Income, Networth and Networth As On the specific date (will be required as per products selected)
- Confirm whether you are a Politically Exposed Person (PEP)
- Provide your Primary Source of Income
- Declare: Are you a relative of Geojit employee?
- Select: Are you a tax resident of any country other than India?
- Continue

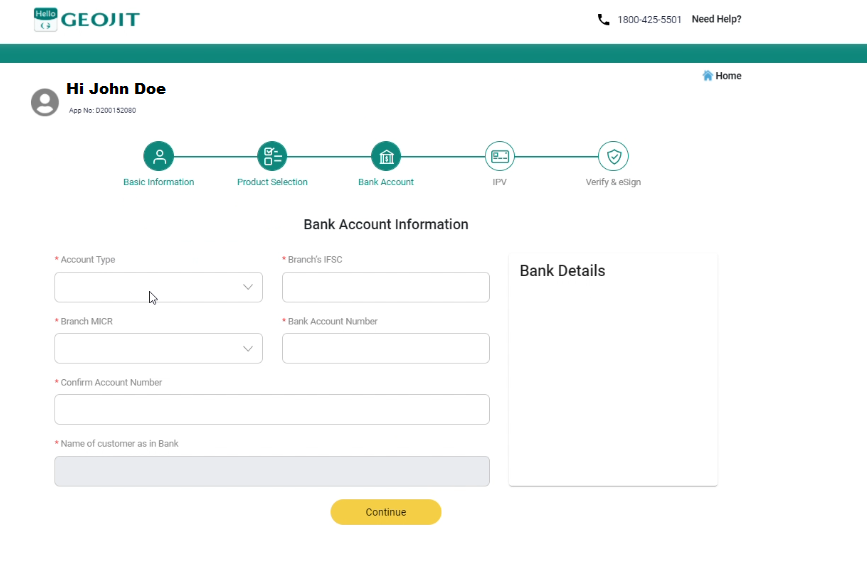
Step 10. Bank Account Information
- Select the Bank Account Type
- Enter Bank Branch's IFSC; your bank account details will auto-populate.
- Enter and confirm your Bank Account Number
- Click Verify Bank- If the bank account number is entered correctly, the Name of Customer as in Bank and will show as Verified
- Continue
Before going to the next stage, Geojit will credit your bank account with Re. 1 as part of the bank account verification process.
Step 11. Nomination
- Fill the Nominee Declaration Form > Continue

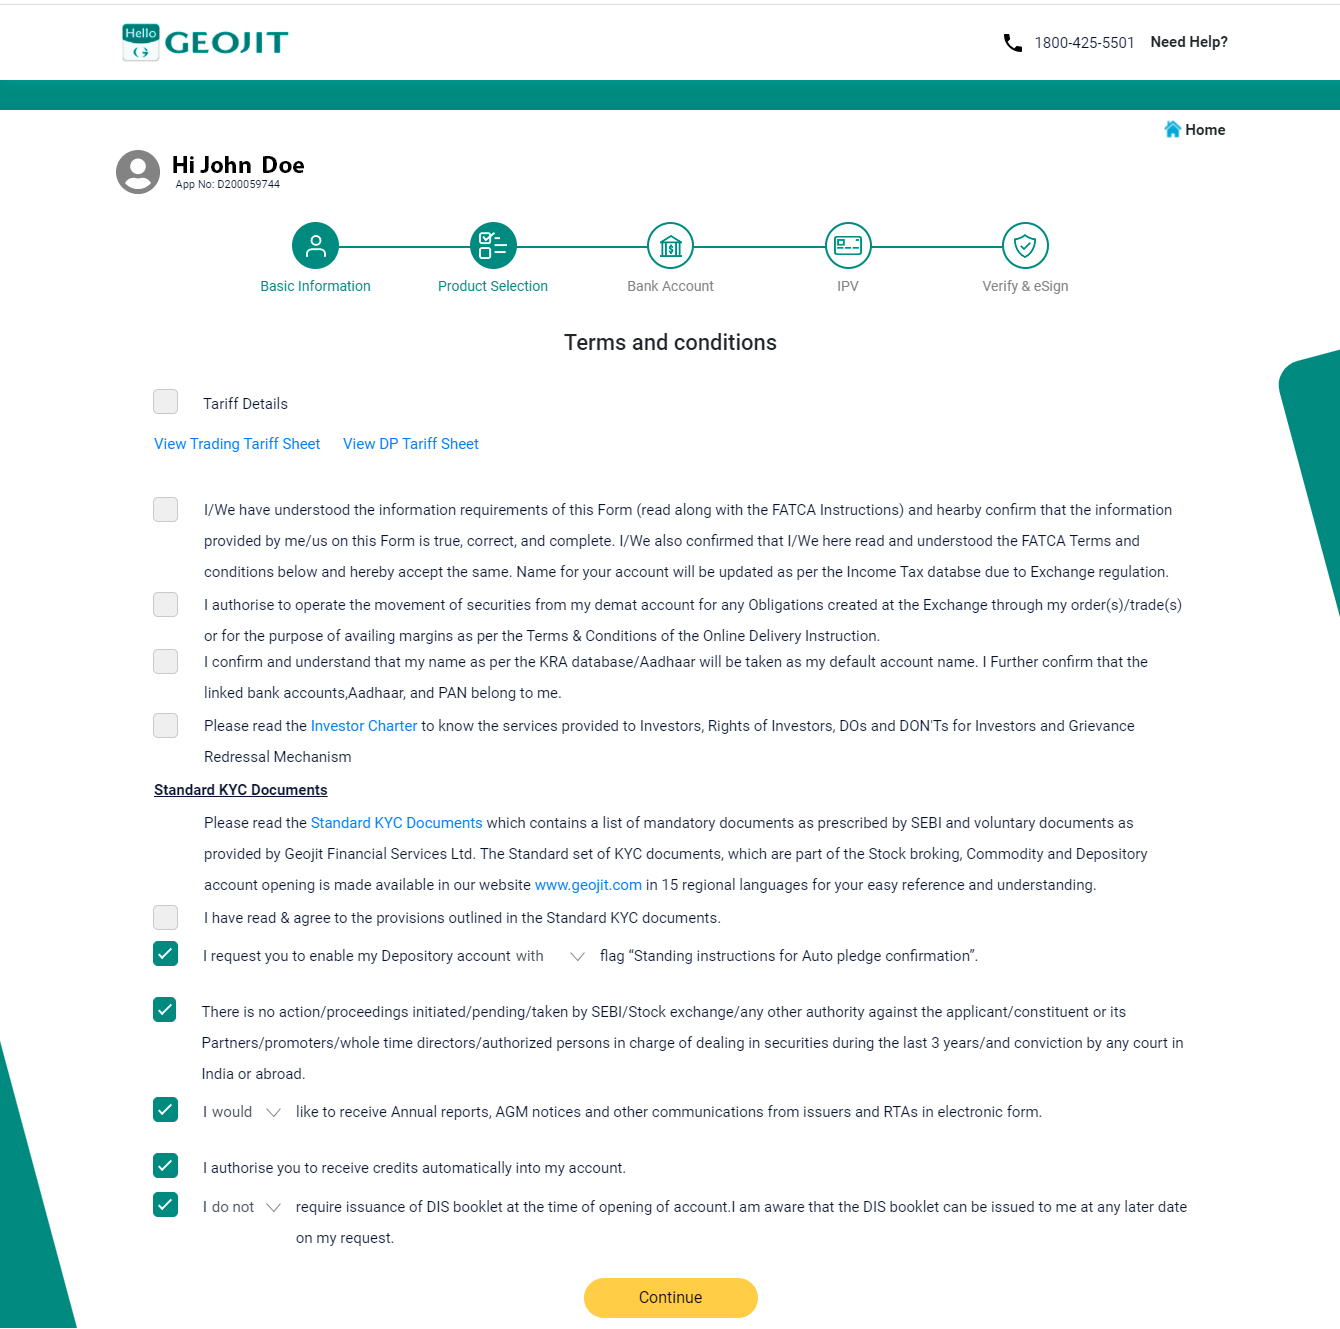
Step 12. Terms and Conditions
- Read and accept the Tariff, Terms & Conditions, Standard KYC documents > Continue
Step 13. Proof Upload
- Upload a Photo / Scan of PAN card
- Select and upload your Permanent Address Proof
- Enter the last four digits of your Aadhaar number > Continue

Step 14. IPV (In Person Verification)
- Click Capture and take a photo of yourself
- Crop and upload the photo

Step 15. E-Sign
- Click Proceed to e-Sign
- A final PDF with all the collected information will be generated. Verify the details and e-Sign the document.


- Read the pop-up message > Ok
- Enter the generated OTP
- The e-Sign process is complete


- A welcome screen with your Trade Code and Client ID will be displayed
- Follow the instructions to download and fill in the attached DDPI form (if desired)

Still need help? Create Ticket


