How can I open a Resident status Geojit account online if my KRA-KYC is not registered?
If you are not KRA registered or have registered with an invalid address proof, you will be prompted to complete the Aadhaar e-KYC process during account opening.
Keep these documents handy :
- PAN CARD
- AADHAR NUMBER
- BANK PROOF
- SIGNATURE
Step 1: Mobile Verification
- Enter your 10-digit mobile number.
- Tap “Send OTP.”
- Enter OTP & confirm.

Step 2: Email ID Verification
Choose:
- "Continue with Google" (auto verified)
- OR Enter email manually *(check inbox for verification link and click it)*
- Enter 'Name as per PAN.'

Step 3. Client Consent
'Tap Confirm' to give your consent and continue.

Step 4: Branch Selection
- Enter your location or pin code.
- Choose your nearest branch from the suggestions.

Step 5: PAN Upload & Verification
- Upload/capture your PAN card.
- Enter PAN number & date of birth.
- The name auto-populates from the PAN database.

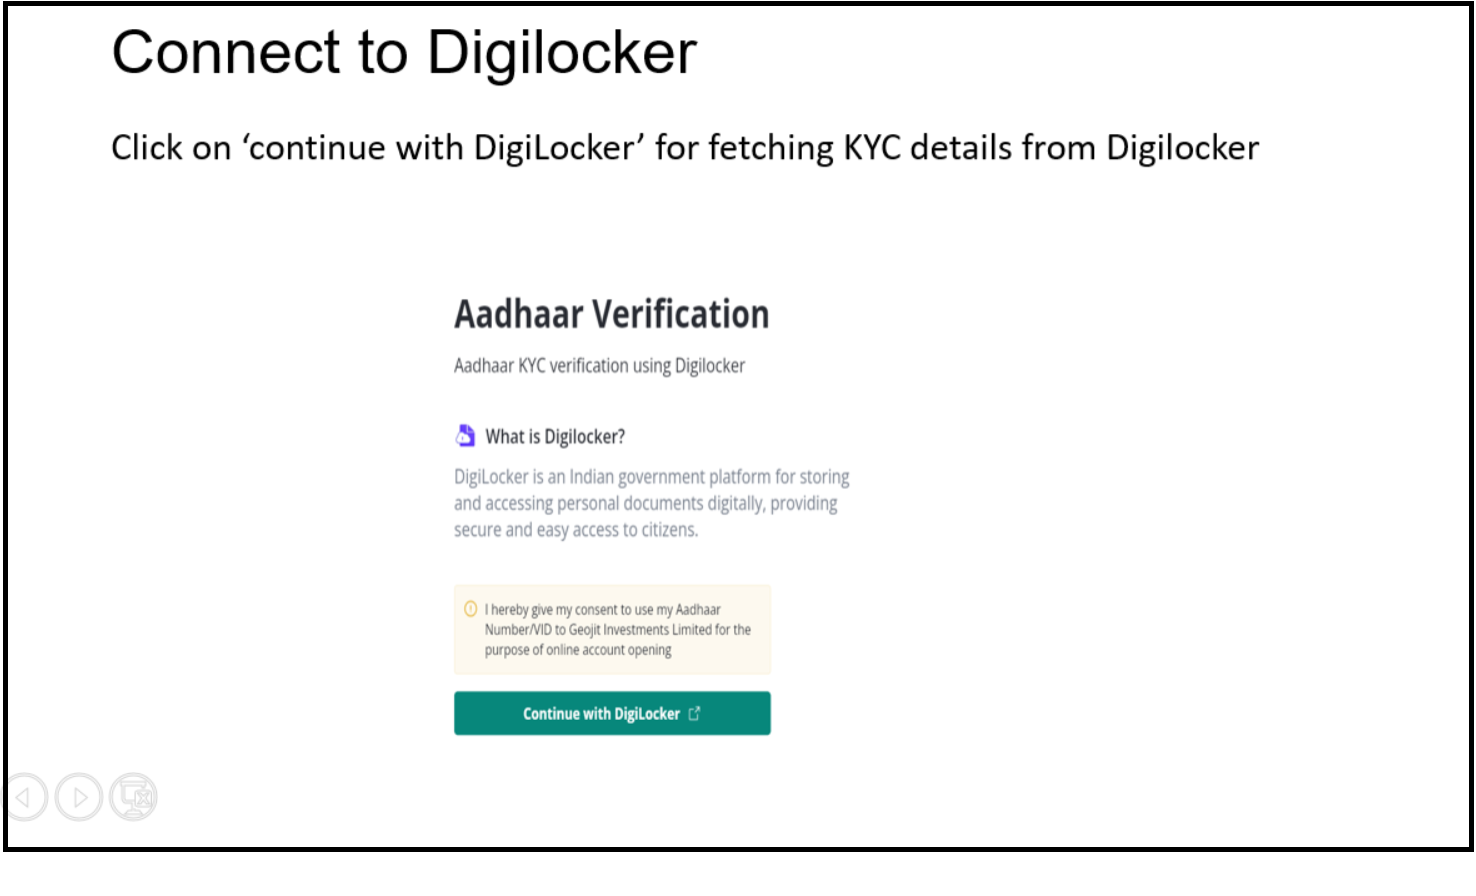
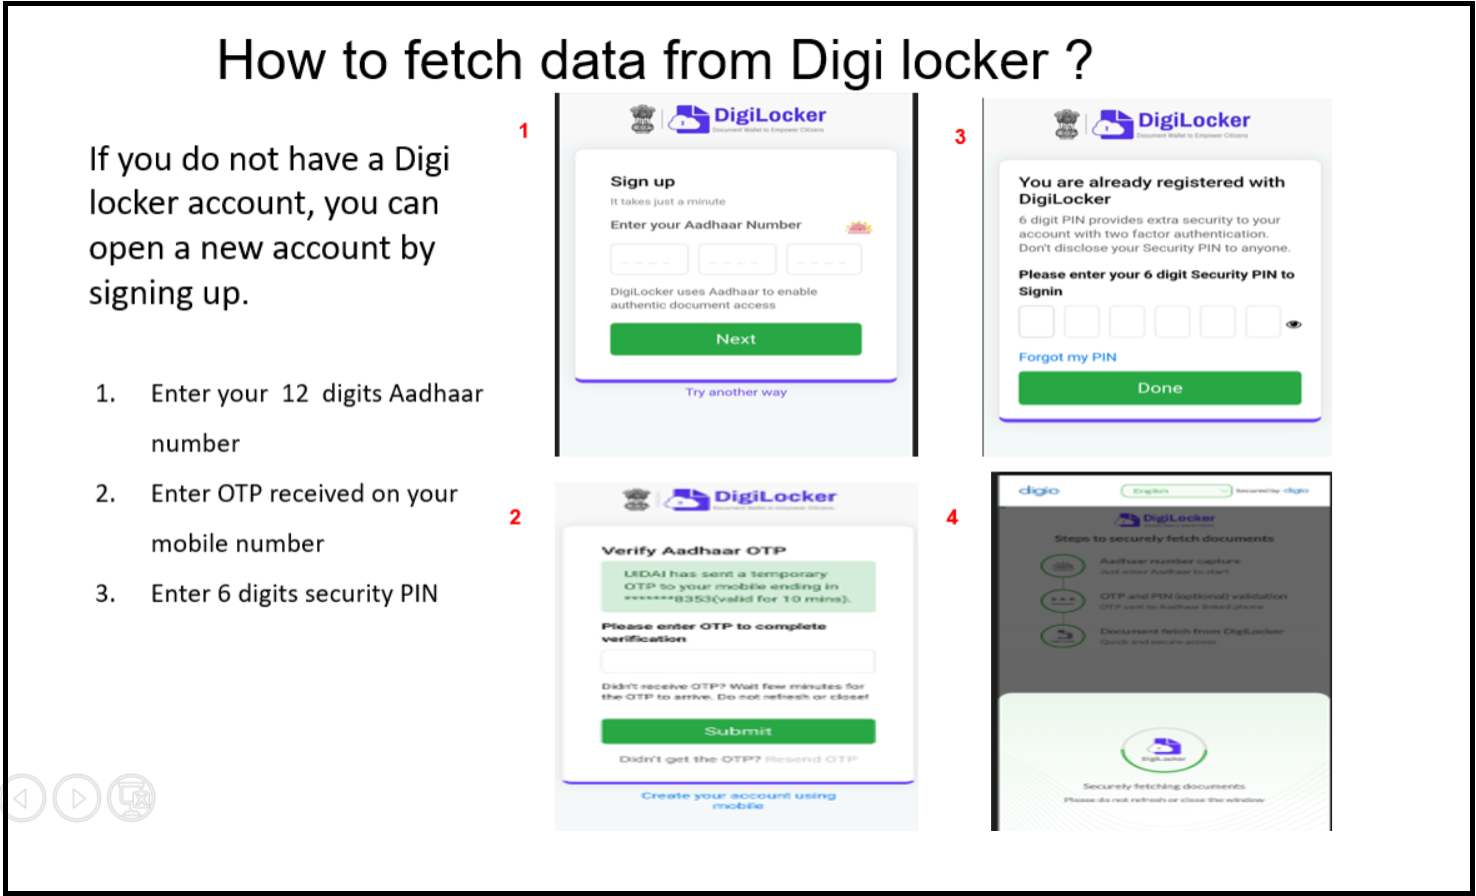
Step 6: DigiLocker KYC
- Click “Continue with DigiLocker.”
- Enter:
- OTP (on mobile)
- 6-digit Security PIN
- If no DigiLocker? You can 'sign up for one' right there.
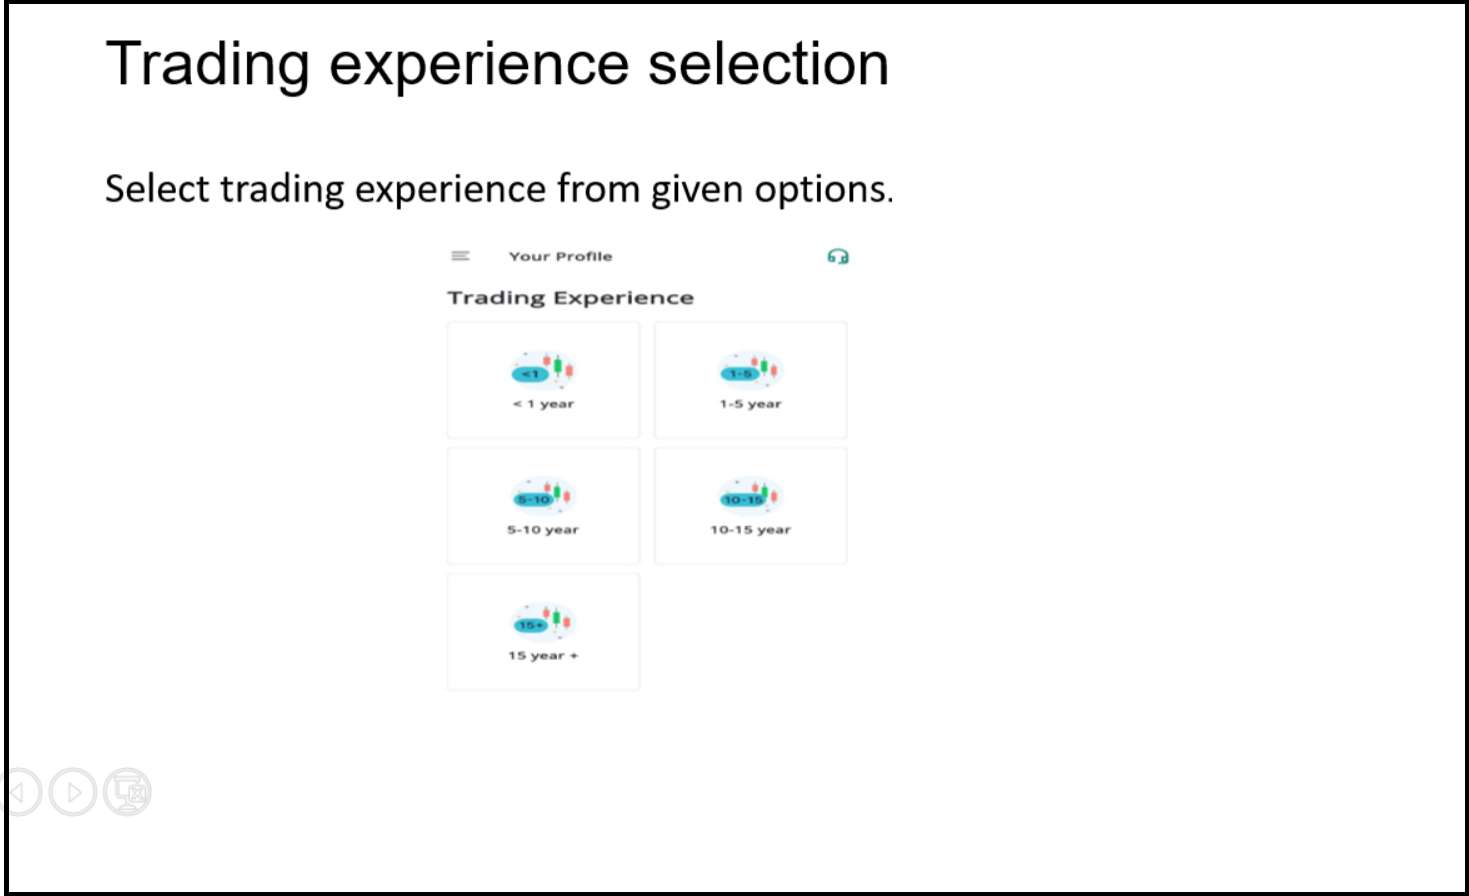
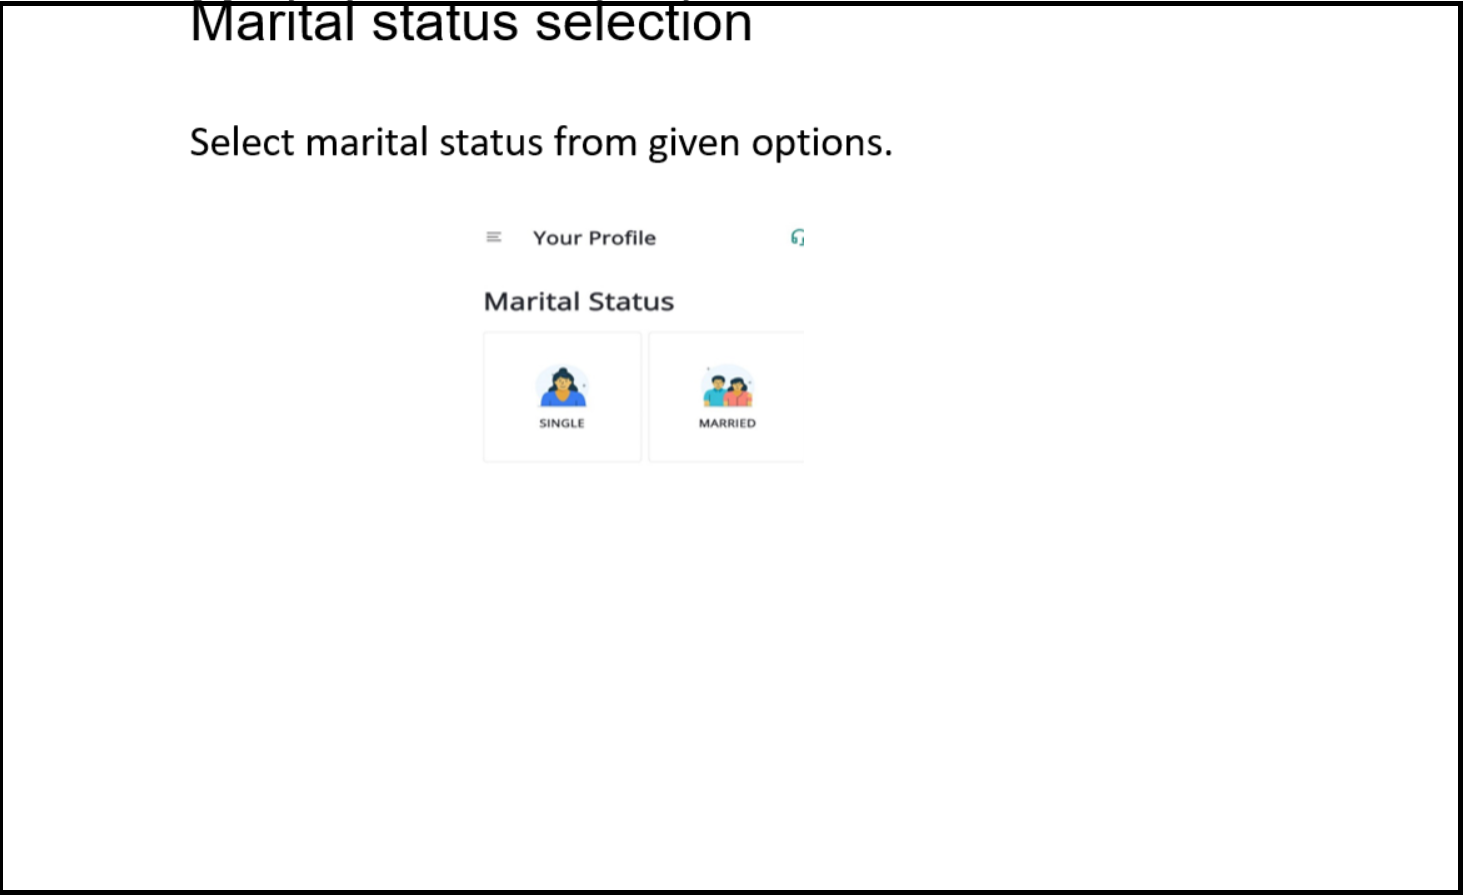
Step 7: Personal Info
Select:
- Trading experience
- Marital status
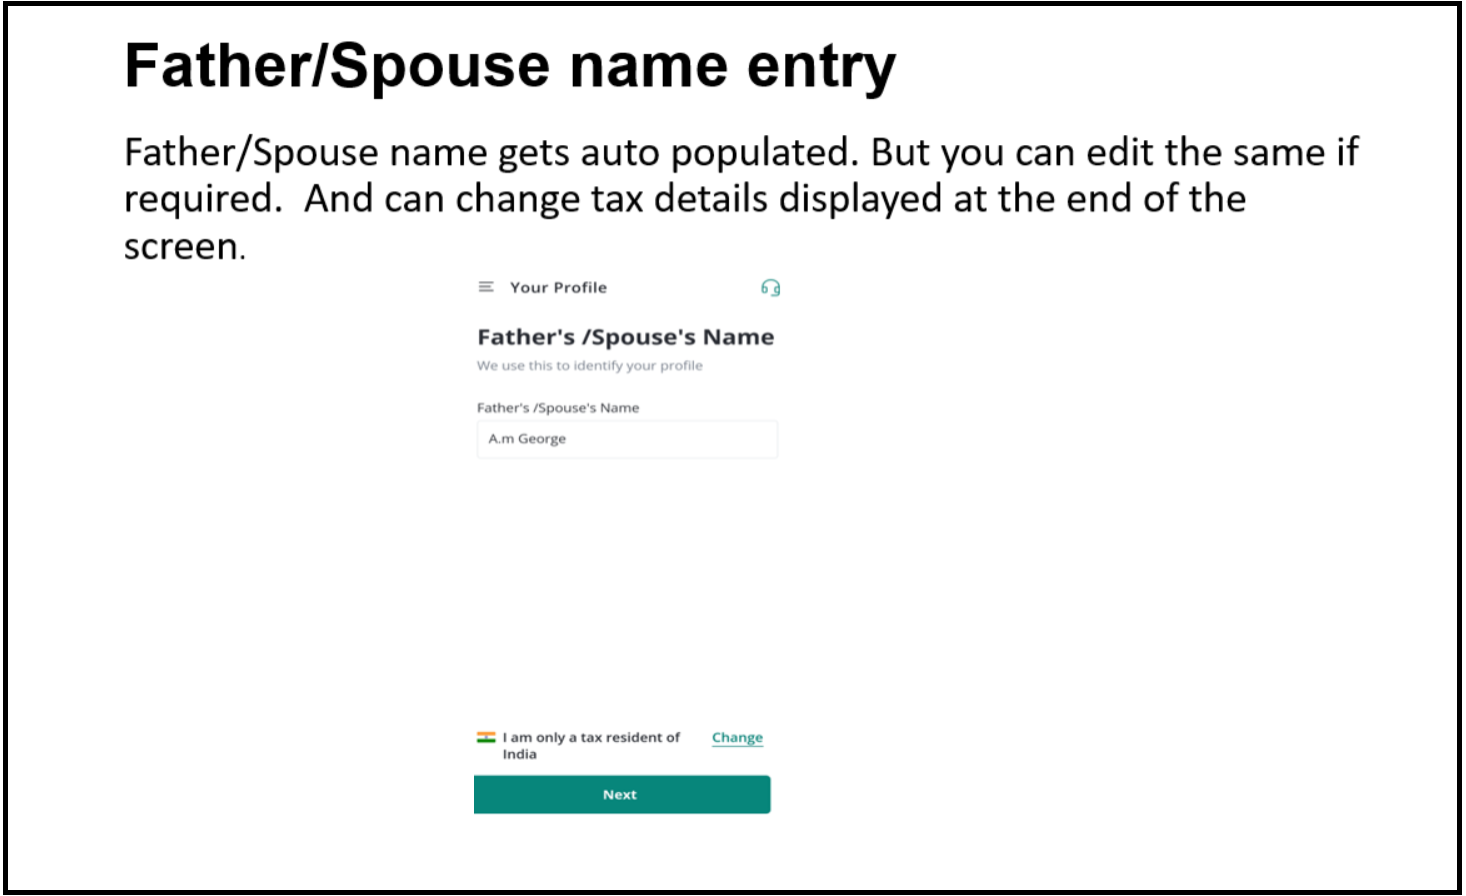
- Father/Spouse name
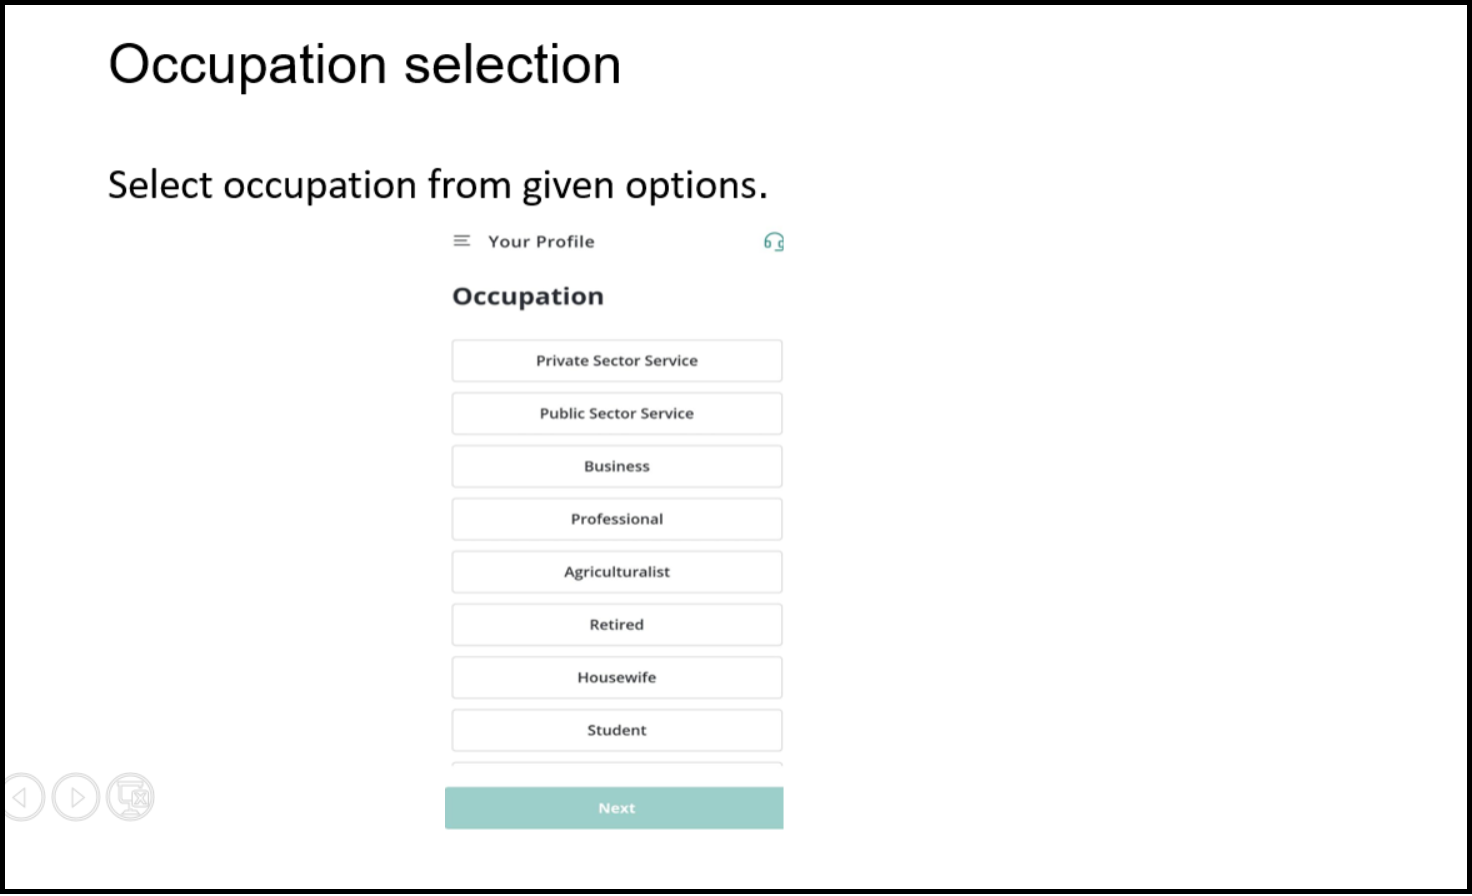
- Occupation
- Source of income
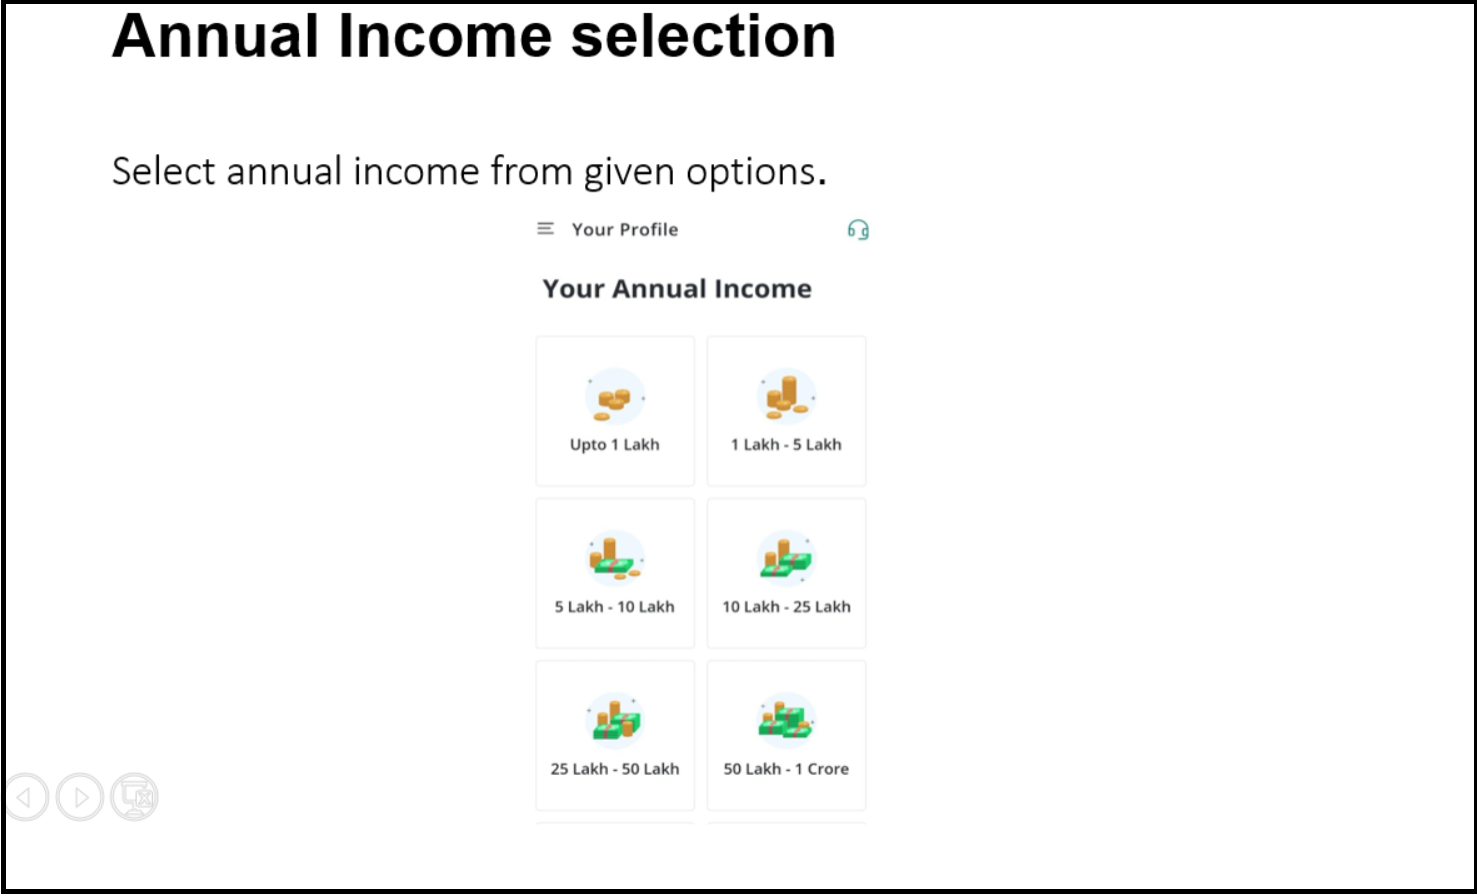
- Annual income range
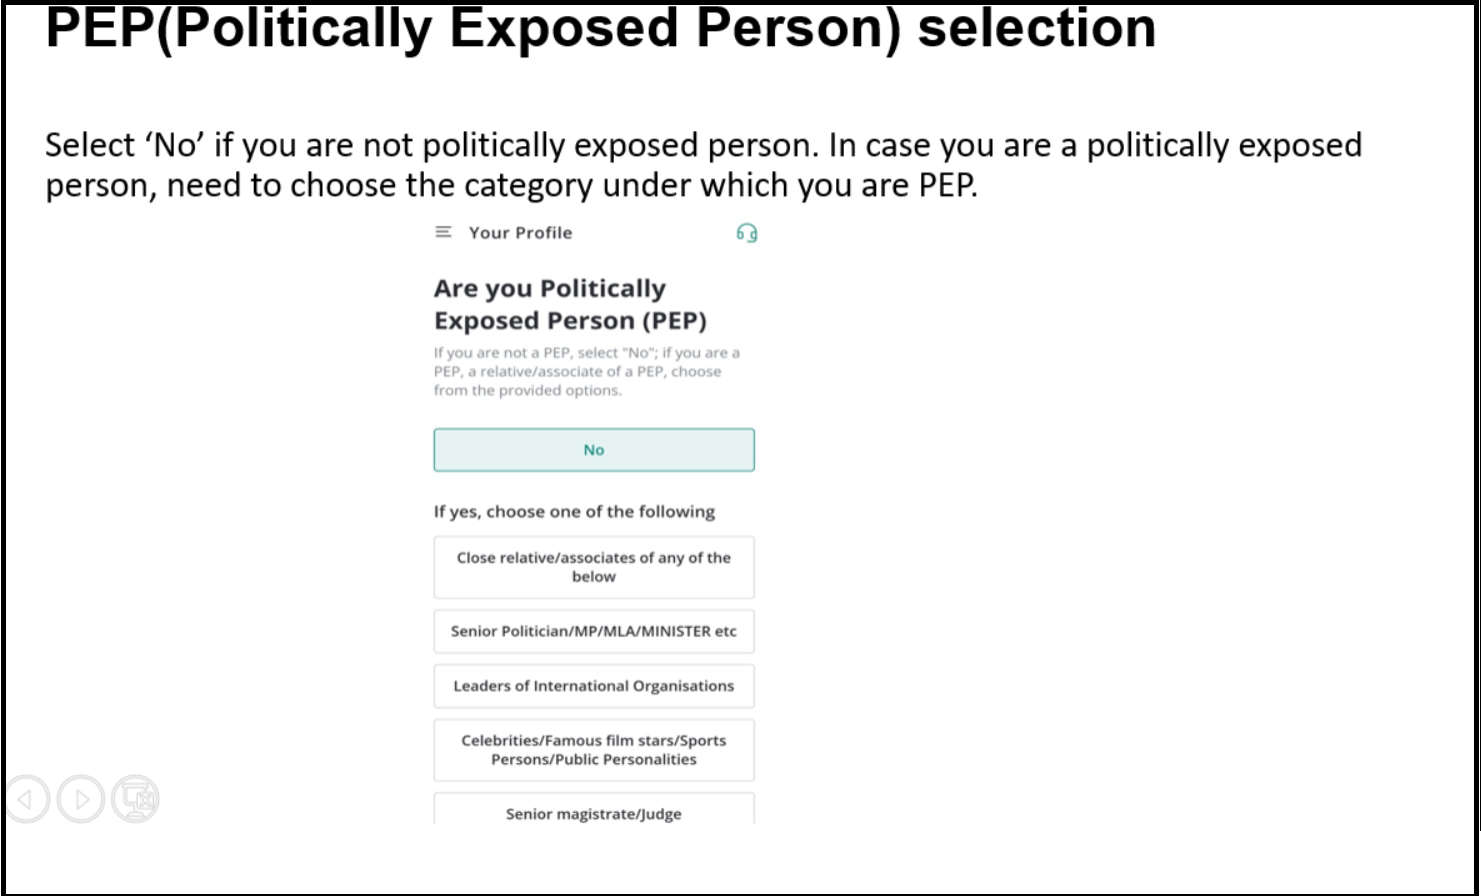
- PEP status (Choose 'No' if you’re not a politically exposed person.)

Step 8: Bank Account Linking
Step 10: Signature Upload
- Enter the IFSC code to search for the bank.
- Select bank.
- Enter account number & type.
- Tap “Confirm Bank Details.”
> If verification fails, upload bank proof.


Step 9: Nomination
- Add up to 3 nominees, or choose to opt out.

Step 10: Signature Upload
- Either sign directly on screen
- OR upload/capture a signature written on white paper.


Step 12: Final Profile Check
- Review all details carefully.
- Edit if needed.
- Tap “Confirm Profile.”

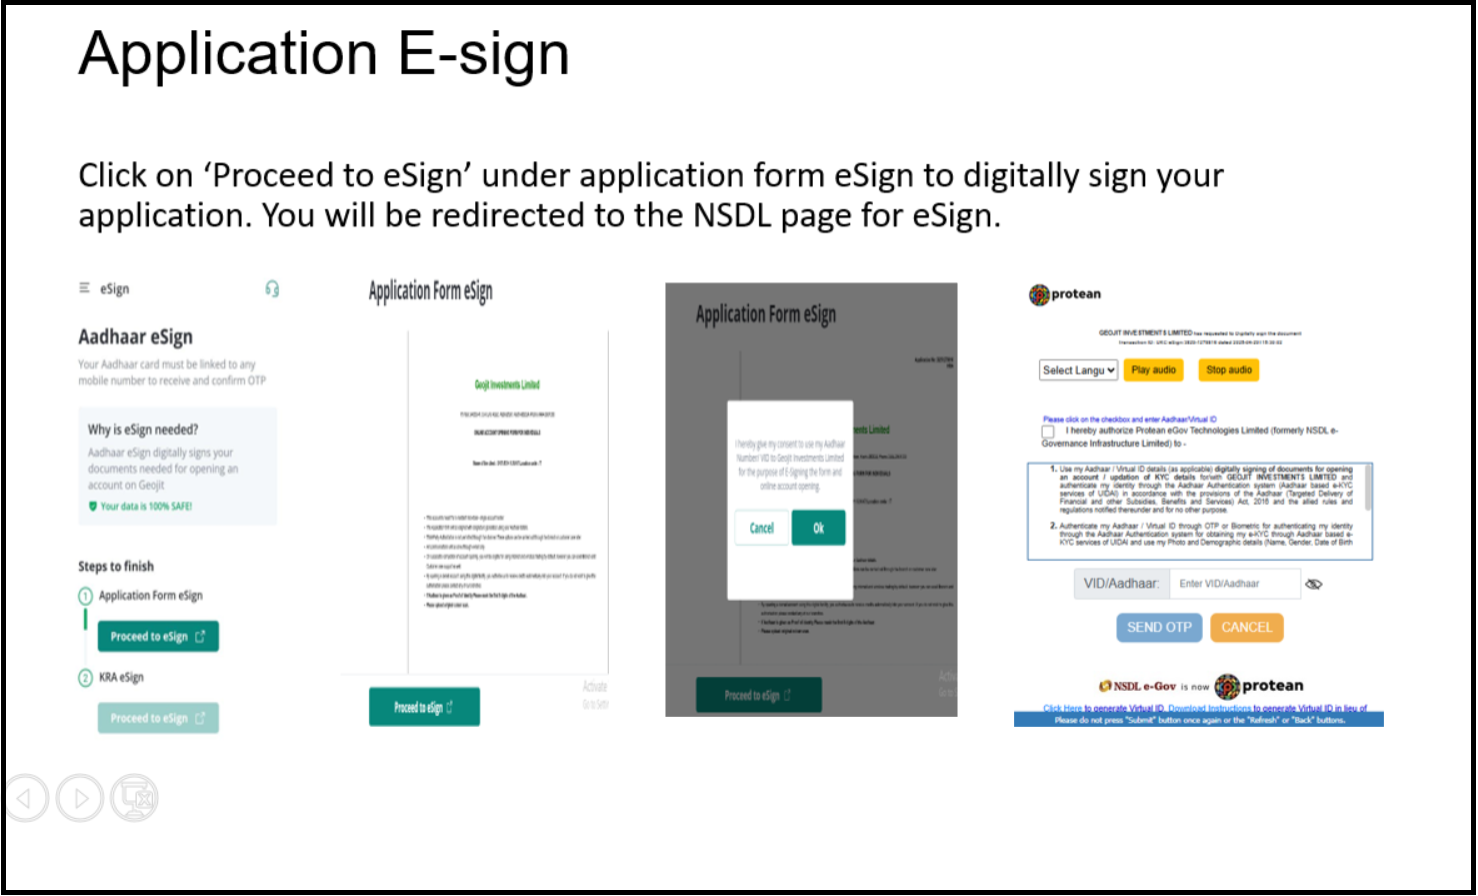
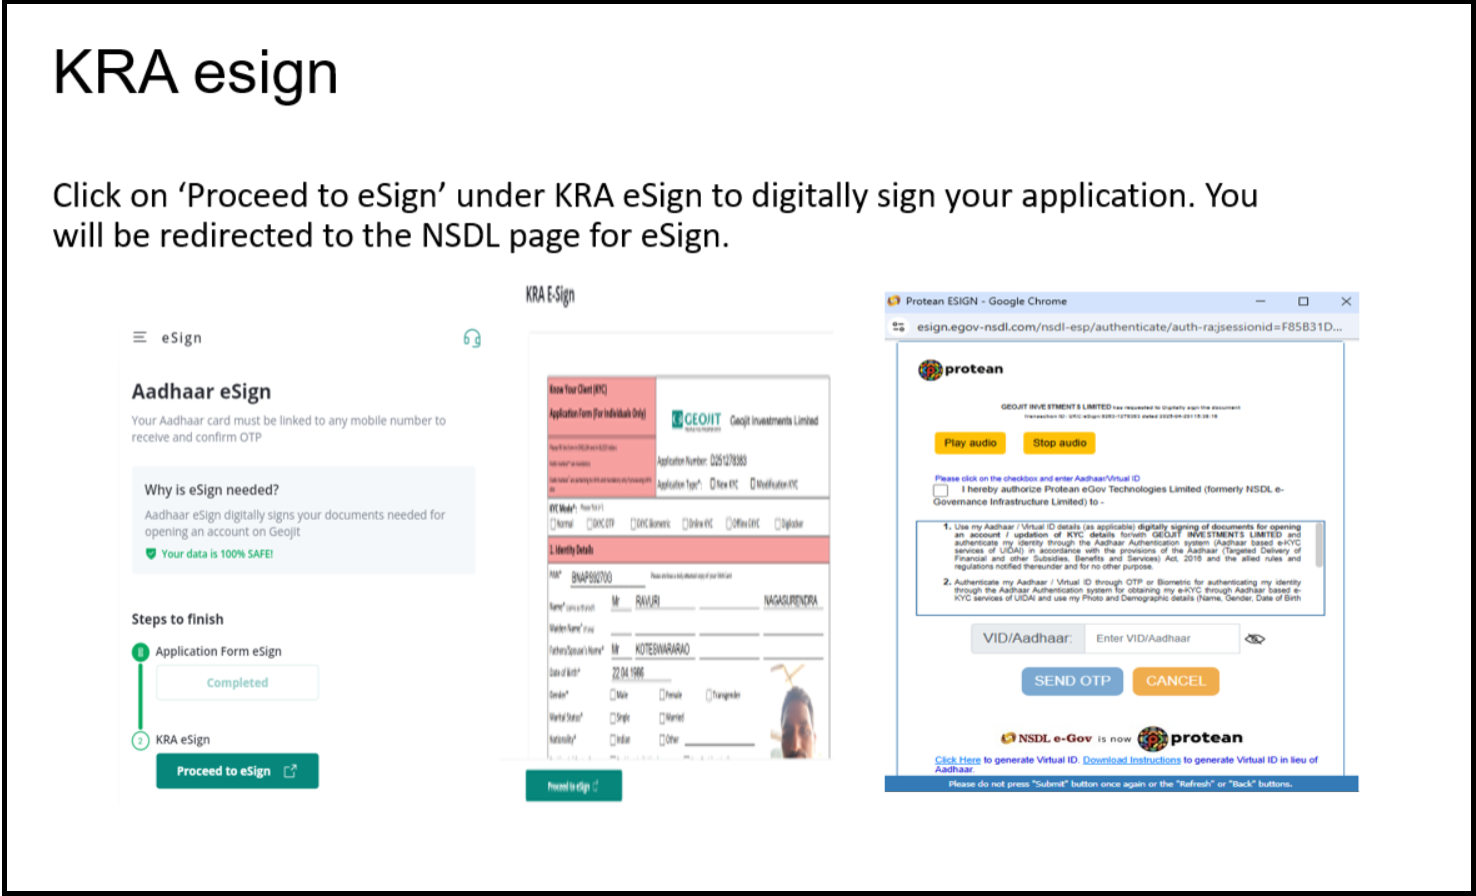
Step 13: e-Sign
- Click “Proceed to eSign” on the application & KRA form.
- Redirected to the NSDL page for Aadhaar-based signing.
You're Done!
After successful e-sign, you’ll get:
After successful e-sign, you’ll get:
- DP ID
- Trade Code
- Completion confirmation message

Still need help? Create Ticket


